Digitally sign your inventory templates in Zoho CRM
Zoho CRM provides inventory templates that help you send customized quotes, purchase orders, sales orders, and more, as per your business requirements. As part of the customization, you can add fields, add a company logo, and even attach a signature available as a merge field in the user’s section. You can just drag and drop the components.
Steps to create an inventory template:
- Log in to Zoho CRM.
- Navigate to Setup > Customization> Templates > Inventory.
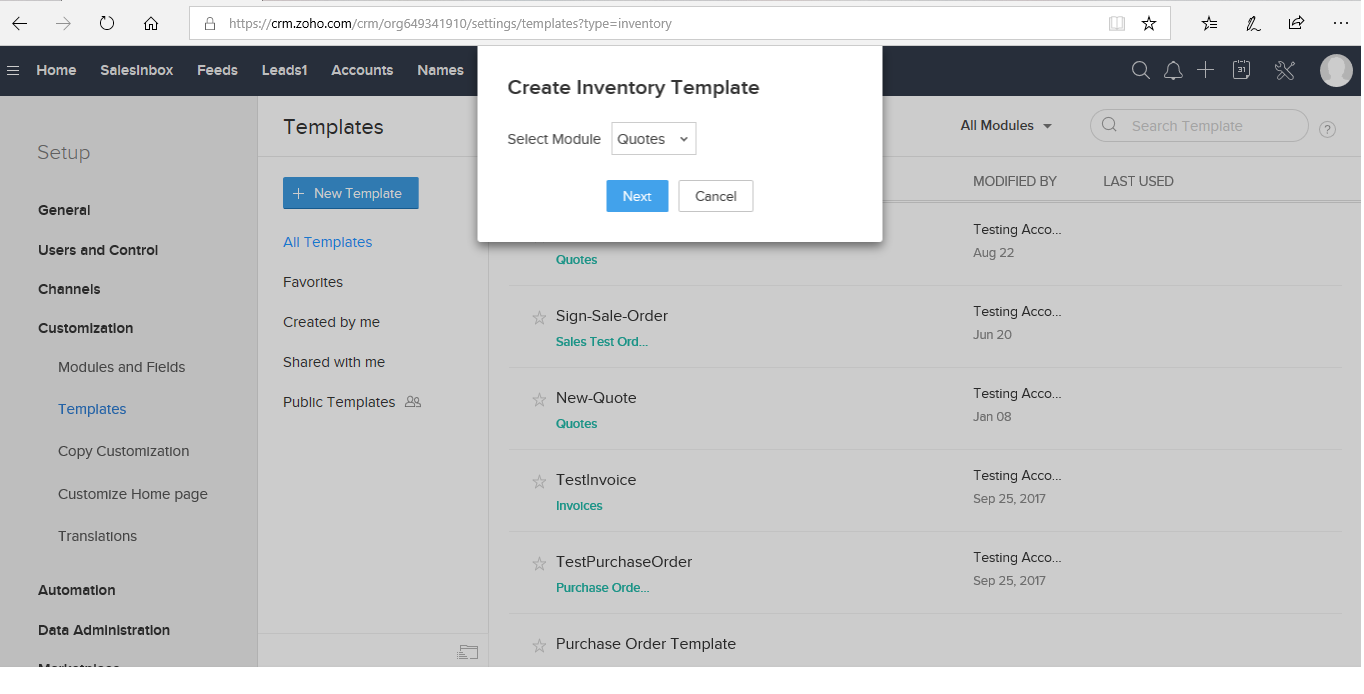
- Click + New Template.
- From the drop-down list, select the module that you want to create an inventory template for.
- Click Next.
- In the Template Gallery Page, you can create a template in three different ways:
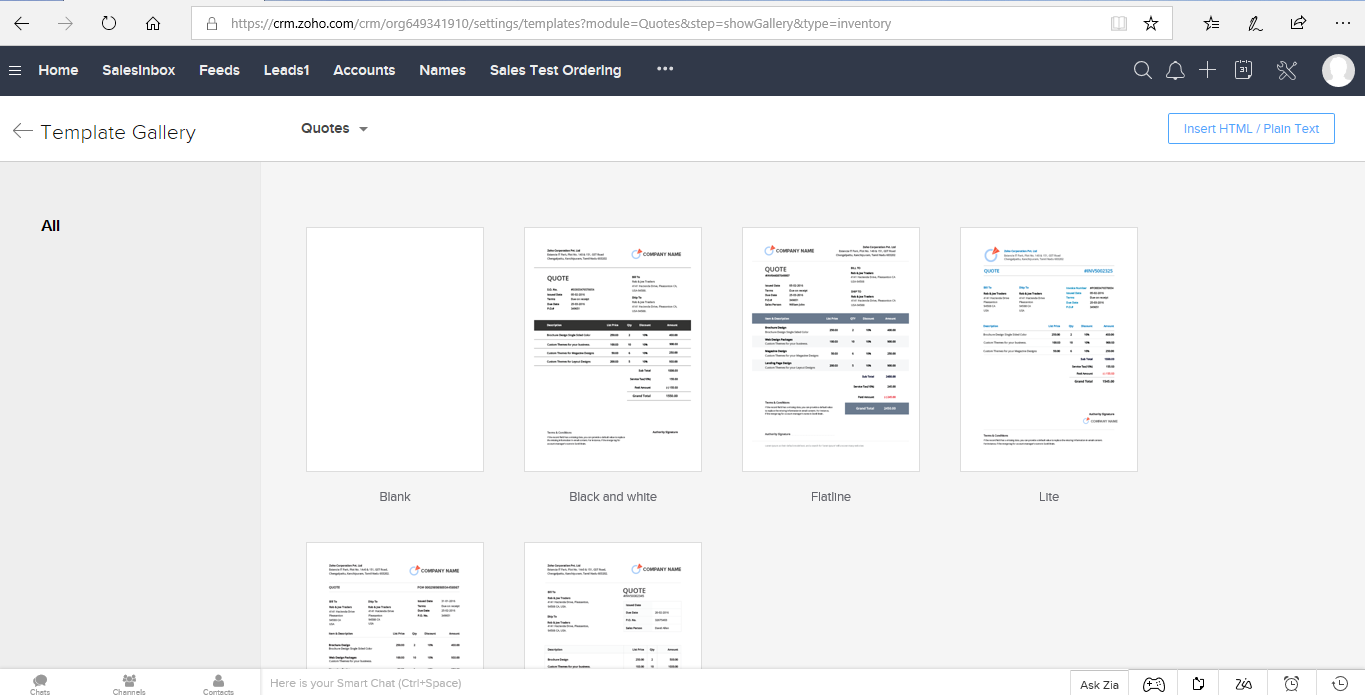
- Blank – Build an inventory template from the scratch
- Pre-designed Templates – Select a template from the gallery based on your requirements which displays predesigned templates: Black and White, Flatline, Lite, Simple, and Standard.
- Inventory Modules – Select a primary module and create templates by linking with other secondary modules.
Steps to add a signature to an inventory template:
- In the Create Template page, choose a Blank template / Pre-designed Templates/ Inventory Modules.
- Drag and drop the required components..
- Complete adding all the required components and merge fields.
- Click PDF Preview.
- If you are happy with the template looks, click Save.
- Navigate to any module – Quote/ Purchase Order/ Sales Order/Invoices.
- Select a quote.
- Click Send for Zoho Sign.
- Navigate to Add Document > Click Use Template > CRM Template.
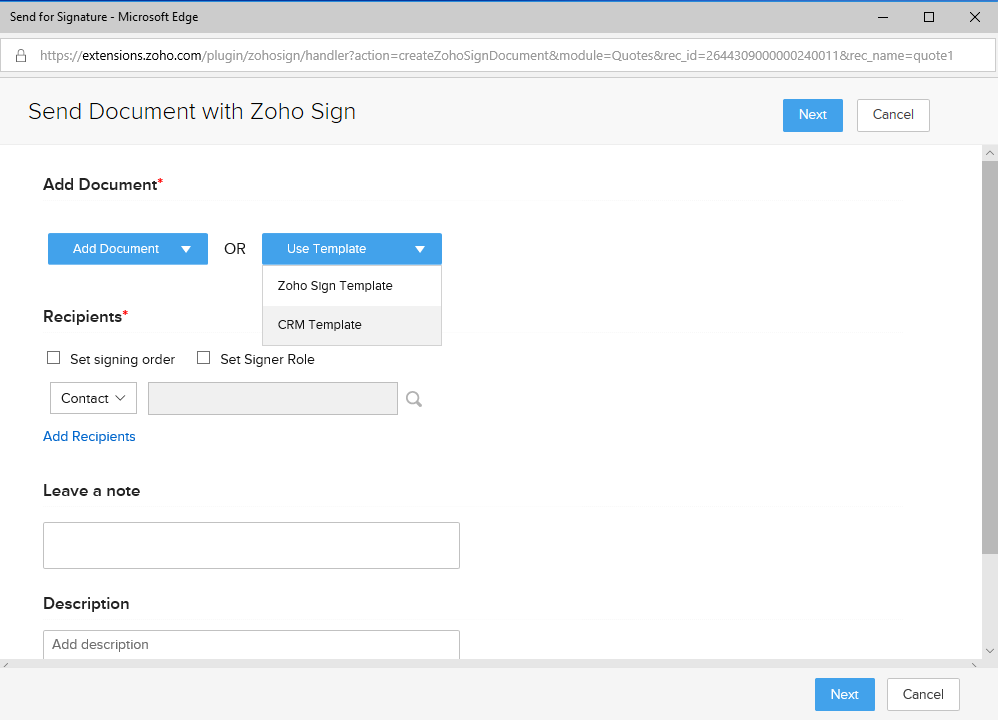

- Select the template.
- Click Create.
- Add recipients, signing order, and role.
- Click Next.
- Click Continue.
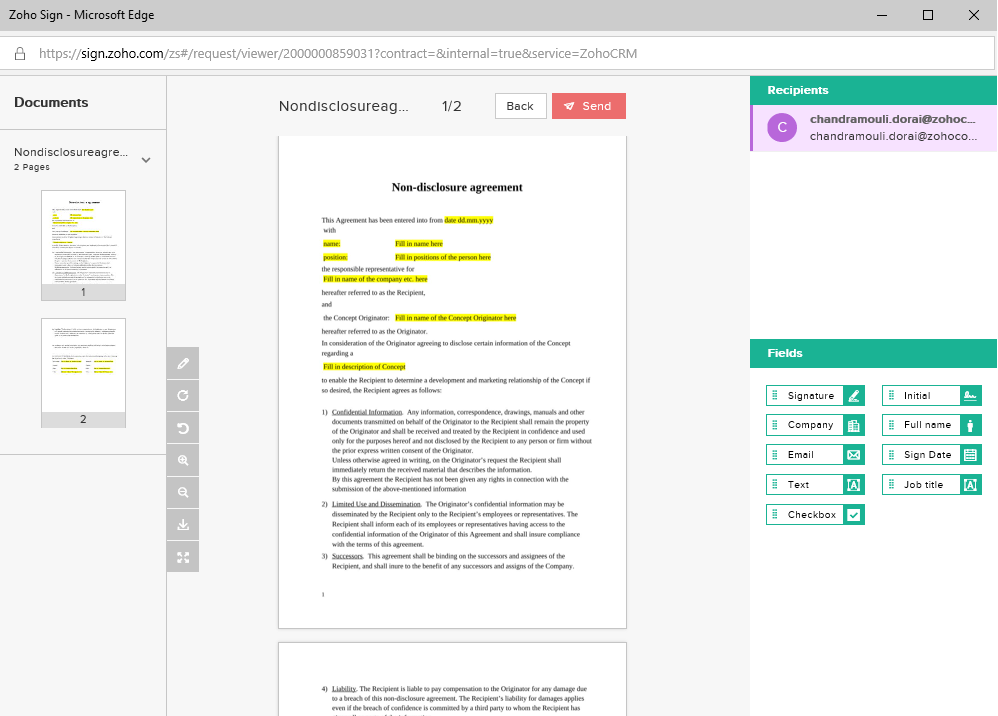
- Add required fields.
- Click Send.
Note:
- You can find the step-by-step instructions to create an inventory template in this section of our documentation.
- Learn more about merge fields here and here.


